


Table of contents
- What is Shopify?
- The popularity of Shopify
- What do you need to open a Shopify store?
- Multiple languages in a Shopify store
- How to choose a theme?
- First steps in Shopify
- Main store settings
- How to connect a Shopify theme from a GitHub repository?
- Shopify files and folders
- How to install Shopify CLI?
- How do get store files to PC?
- How to check Shopify CLI commands?
- Shopify Visual Studio Code extensions
- Overall
In this article, I’ve tried to look at Shopify from the developer side and the user side. I spoke about my experience and certain points of view related to various themes. If you’re not familiar with Shopify, I’ve tried to provide you with the key insights you need to work with Shopify themes and open a store. You can also develop apps on Shopify, but I didn’t do any of them. Therefore in the article, I’ll tell you about theme development only.
What is Shopify?
Shopify is a platform where you can open a store and sell online or do dropshipping. If you are a developer, you can develop themes or apps for customers. The Shopify theme plays the main role because your store is a theme. That’s why you should take a theme for your store carefully.
The popularity of Shopify
Shopify is one of the most popular e-commerce platforms. To be honest I think it’s the most popular e-commerce platform because Shopify offers a lot of cool stuff from under the hood.
The first awesome thing is the interface. Of course, you can say that interface design is subjective and you will be right. By the way, in my opinion, Shopify has a great intuitive interface design.
The second cool thing is a documentation page. Did you see it? It’s super nice. Clean and detailed. Just look at this.
The third thing is an opportunity for development. I know that you can develop themes or whatever on Woocommerce or other e-commerce platforms. Look at Hydrogen — React-based framework. You can create dynamic stores and this is awesome.
I am not saying that Shopify is the best or something like that. I am telling you about my experience with it. I worked on different e-commerce platforms and can say that I love Shopify. Of course, the Shopify Platform have disadvantages and I will tell you about them later.
What do you need to open a Shopify store?
To open a Shopify store you need to create a Shopify account. Right after that, you should choose a plan that your store fits more. When you just sign up you will get 14 trial days. After the trial, you will need to pay for the plan you picked.
There are no paid plans for development. To work with a theme as a developer, you should change the type of store to “Development”. For easy work, it will be great to have a partner account. Partner account allows you to see all stores you have access to on one page. It’s handy when you have a lot of stores and is just nice to have.
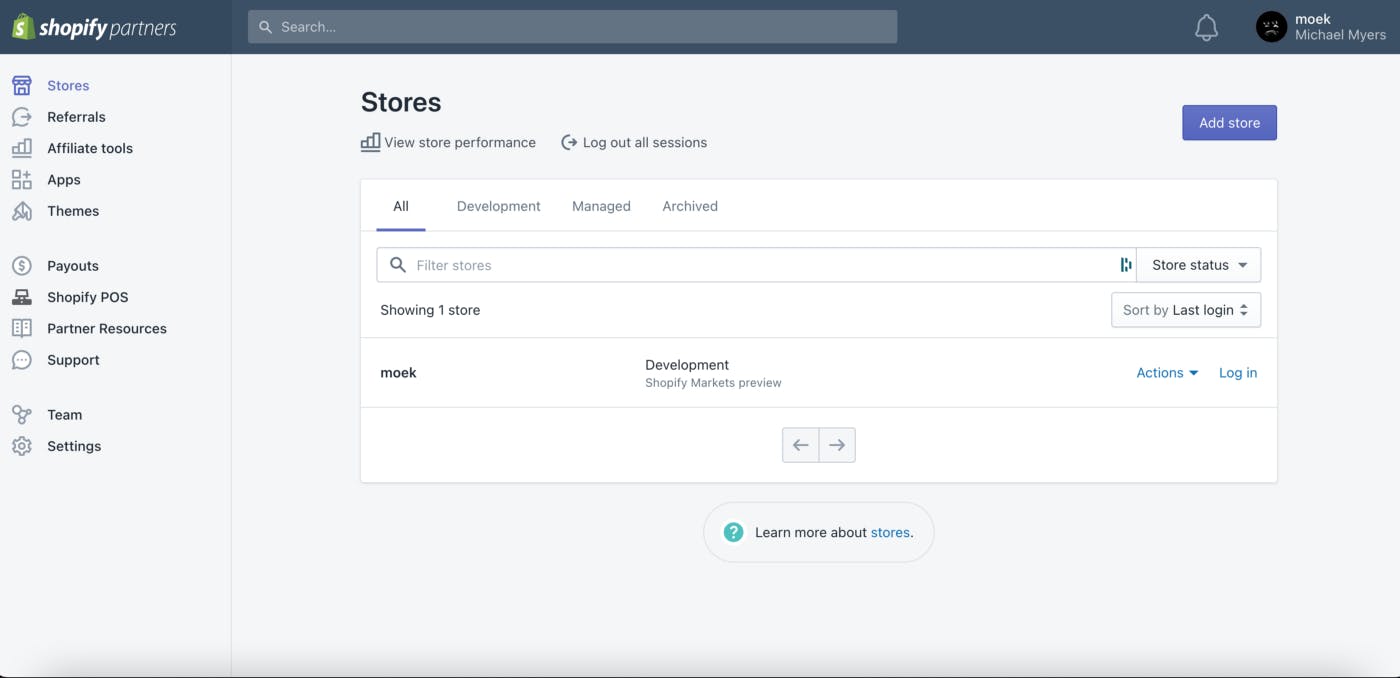
As you can see, I have only one store and the type is Development. But in the future, I’m planning to have a lot of stores here. When your store is in development mode you can activate some features that are in beta, as I did. I activated the Shopify Markets Preview feature and now on my store yellow banner appears everywhere.
Multiple languages in a Shopify store
Shopify offers multiple languages in its themes. It means if you have a third-party theme, I’m not guaranteeing that you have multiple languages in your theme. I worked with different themes and can say that mostly, there is only one language. Keep this thing in mind after buying a theme for your store.
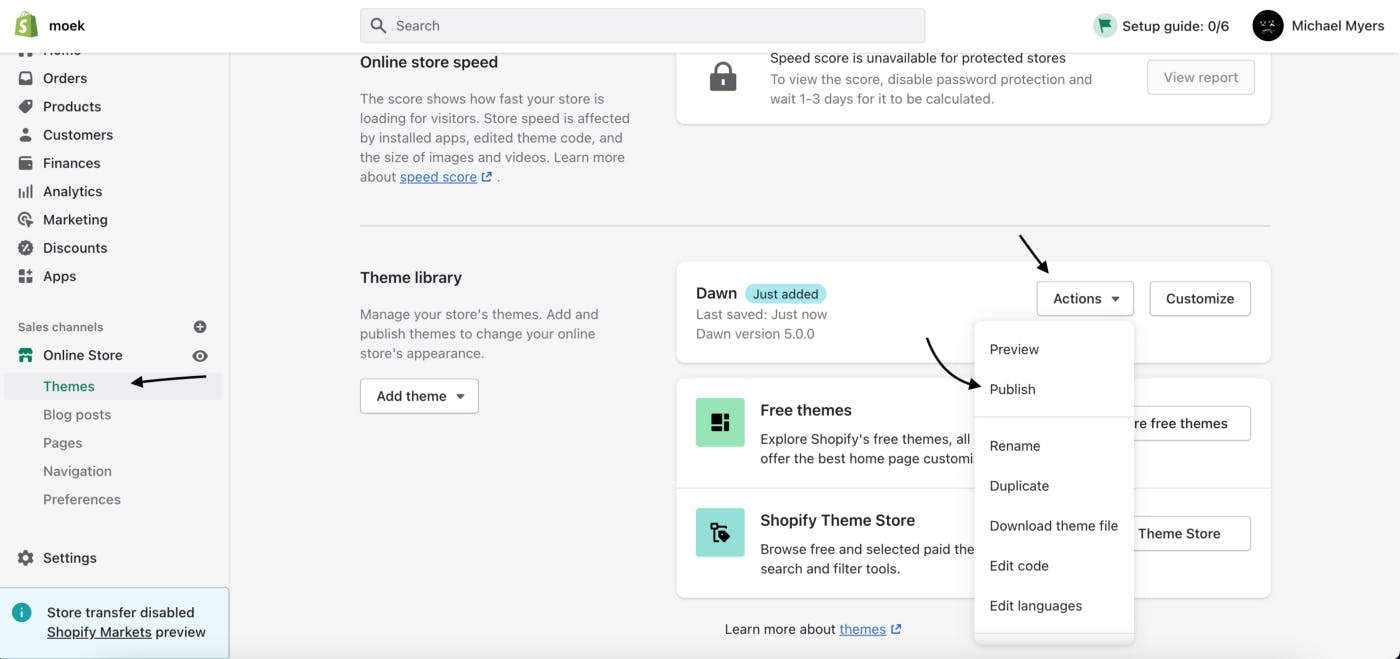
To change the language of your theme you need to click on Actions -> Edit languages. You will see a page where you can pick a language you want and change the words or sentences of each language.
How to choose a theme?
If you have an idea to buy a theme from third-party publishers you need to be careful. From my experience, I can say that most developers sell their themes with code mistakes, with no functions that the theme should have, word mistakes in the admin panel, etc. The advantage of these themes is supported by the developers after buying a theme, each developer sets his supported time as he wishes. Mostly the support period is 60 days. But again, not all support developers make their job qualitatively.
If you are a developer, you can easily pick Dawn and customize it how you or your customer desire. I worked on different themes and Dawn is the most practical for customizing in my opinion. Oh, and I did stores on Dawn way faster than on other themes.
First steps in Shopify
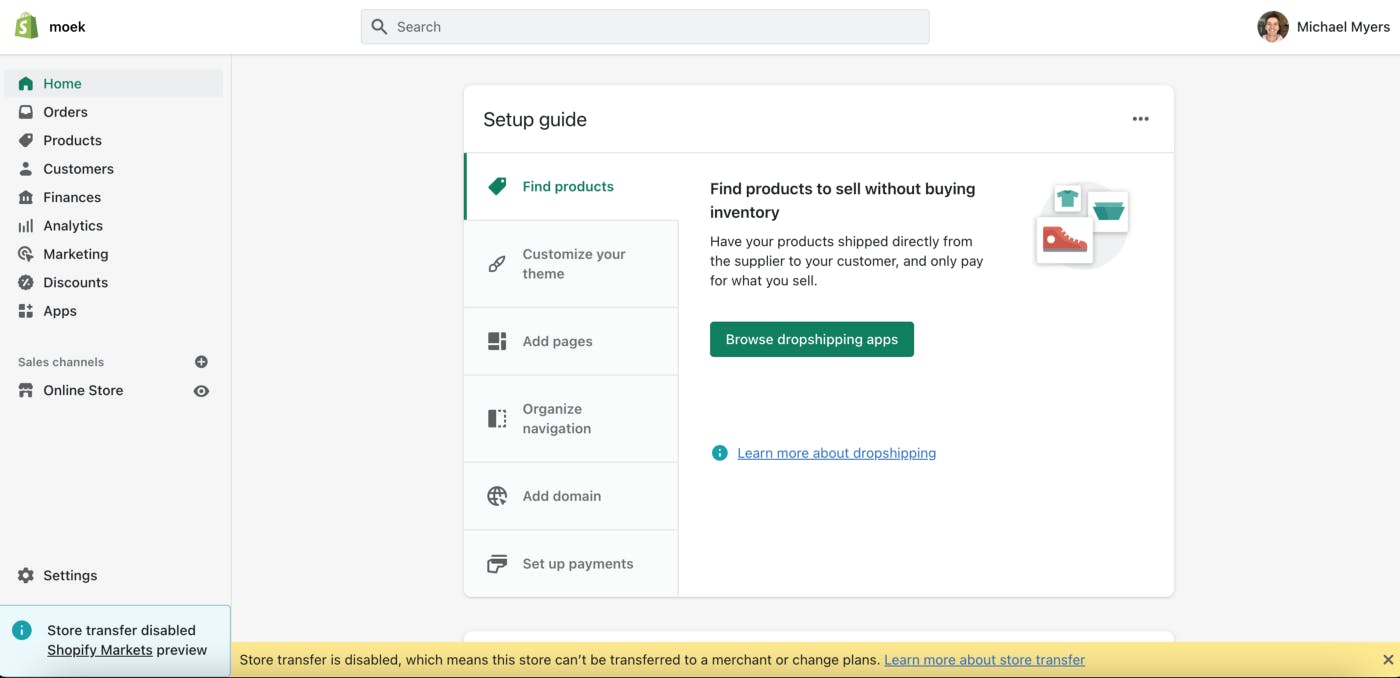
First things first you need to create a Shopify account if you don’t have one. The next step is to go to the admin panel of your store. To do it put slash and write admin. It looks like this: yourstoreurl.myshopify.com/admin
After that, publish a theme. There will be a Dawn probably.
And the best practice is to read the setup guide from Shopify. You will learn basic information about how to open and set up a Shopify store. It will bring you from “how to create a product” to “payment settings”. It is located in the right top corner and the side of a profile.
Main store settings
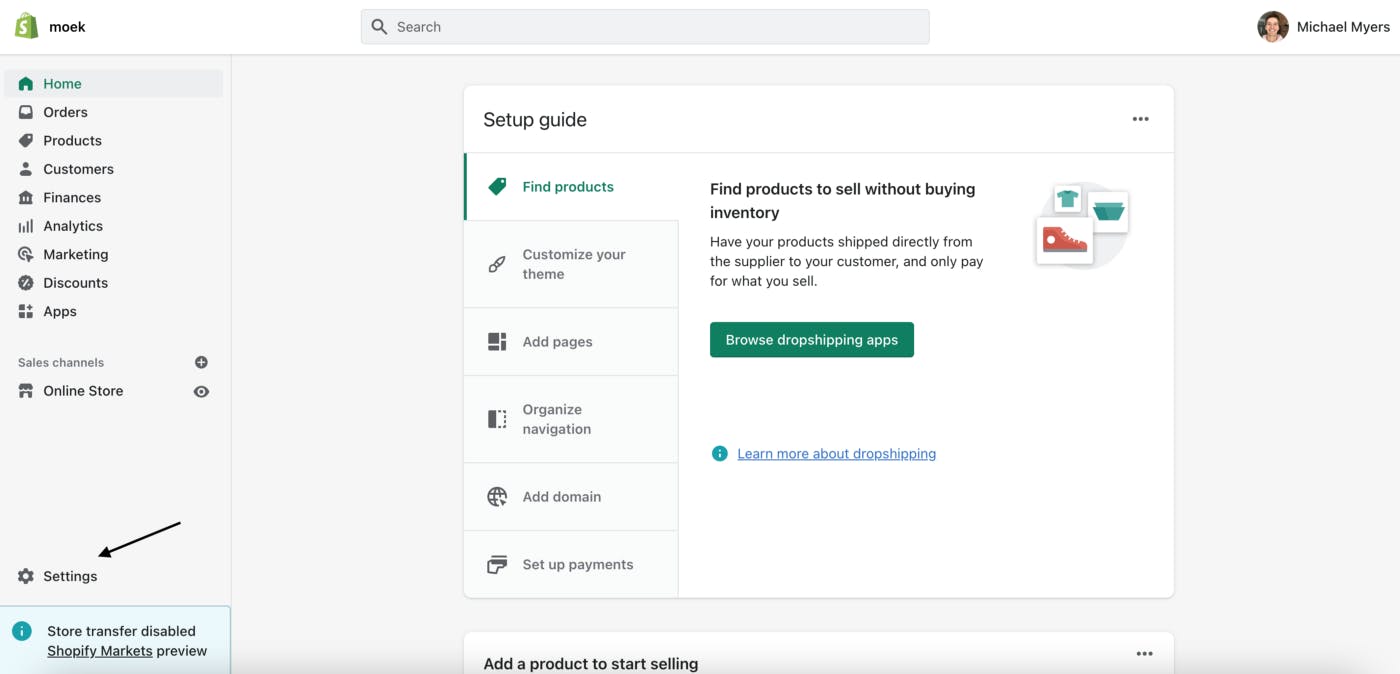
Before you started selling your goods, you need to put some settings in your store. The settings are located at the left bottom corner.
When you are there, you will see a bunch of different settings. The first tab is a basic setting like company name, industry, address, contact information, store currency, etc. At this tab everything is okay. Let’s see something tricky.
Let’s go to the Checkout tab and see it in detail because this setting is about placing an order in your store. Why it’s so important? When you are buying a theme or using a free theme, this tab is not obvious and you can face an issue. And the issue is the account icon in the header. In most themes, this icon is connected with this setting. The first point in this setting asks you to choose one variant about how to use a personal profile on your store: 1. Don’t use accounts Customers will only be able to check out as guests. 2. Accounts are optional Customers can create accounts or checkout as guests. 3. Accounts are required Customers must create an account when they check out.
When I just started learning the Shopify Platform this setting is trick me over and I spent some time to understand it. Recommend you check other settings. We are going next.
If you are a developer, the information below is for you (if you are just interested, you are welcome).
Right after you set up your store, time to connect your theme with a GitHub repository.
How to connect a Shopify theme from a GitHub repository?
Now it’s time to connect a theme from GitHub. This is a cool feature that allows you to track changes in your theme. It means you have a history of your theme and can easily back up if something breaks. And the cool thing is whenever you make some changes through customizer, it commits in GitHub automatically. All you need to do is choose Connect from GitHub when adding a new theme.
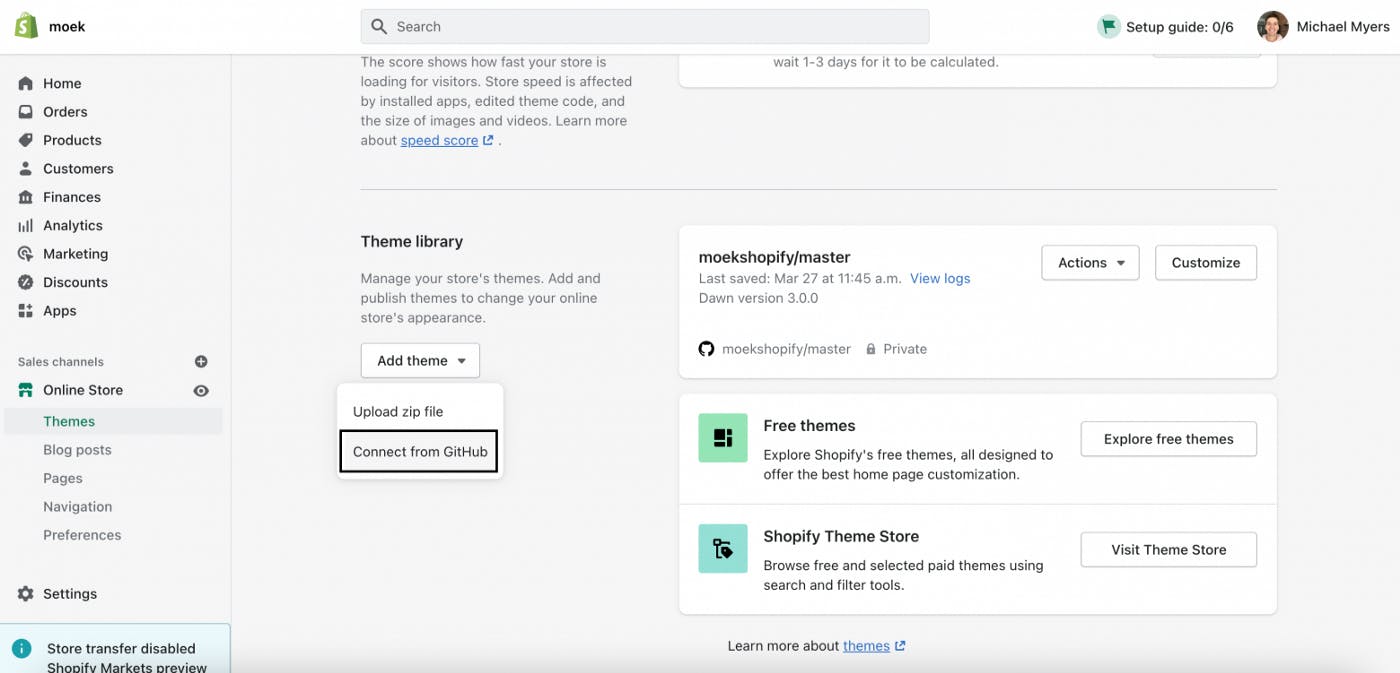
If you already connected your GitHub account to your Shopify partner account, then you need to pick a repository where your theme is stored.
Congratulations! You know how to connect a theme from GitHub now.
The next step is to learn how to work with theme code. To open a code editor choose the right theme and click Actions -> Edit code. You will see this page:
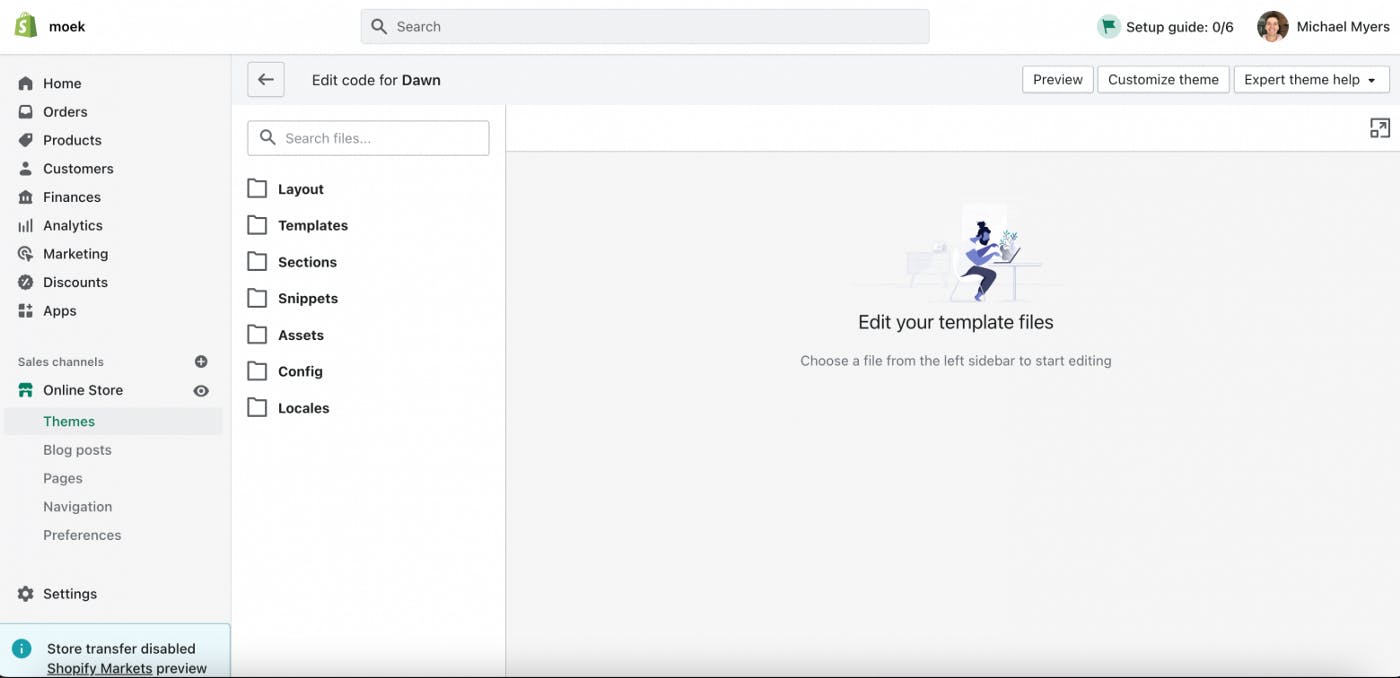
On the left side, you can see folders. Each folder contains a special type of file.
Shopify files and folders
Layout
Layout store a theme.liquid — the main theme file. This file needs to connect CSS, javascript, and more functionality to your website. Also, this file stored the footer and header of the store. Oh and this file can contain a file called password.liquid. But I don’t know much about it.
Templates
It needs to create page templates like products, 404, cart, collection, blog, search, and user profile. You can create different templates of one media content. For example, you can create different templates for the product page and use them depending on the situation (sale, event, etc.). To change the product template go to a product page in the admin panel, look at the right sidebar and in the tab "Theme template" choose a template you have.
Sections
It needs to store sections. Sections — the main component of in-store creation, because they include the whole content of the website.
Snippets
Snippet — a file, that can be rendered in any place on the website. To render it you need to paste this line of code in the place where you want to show the content of your snippet:
{% render 'snippet-name' %}
Assets
Store all styles and scripts.
Config
The files in the folder create automatically when you make changes in the customizer. I don’t think you need to change something. But sometimes you will need it, but it’s a kind of rare case.
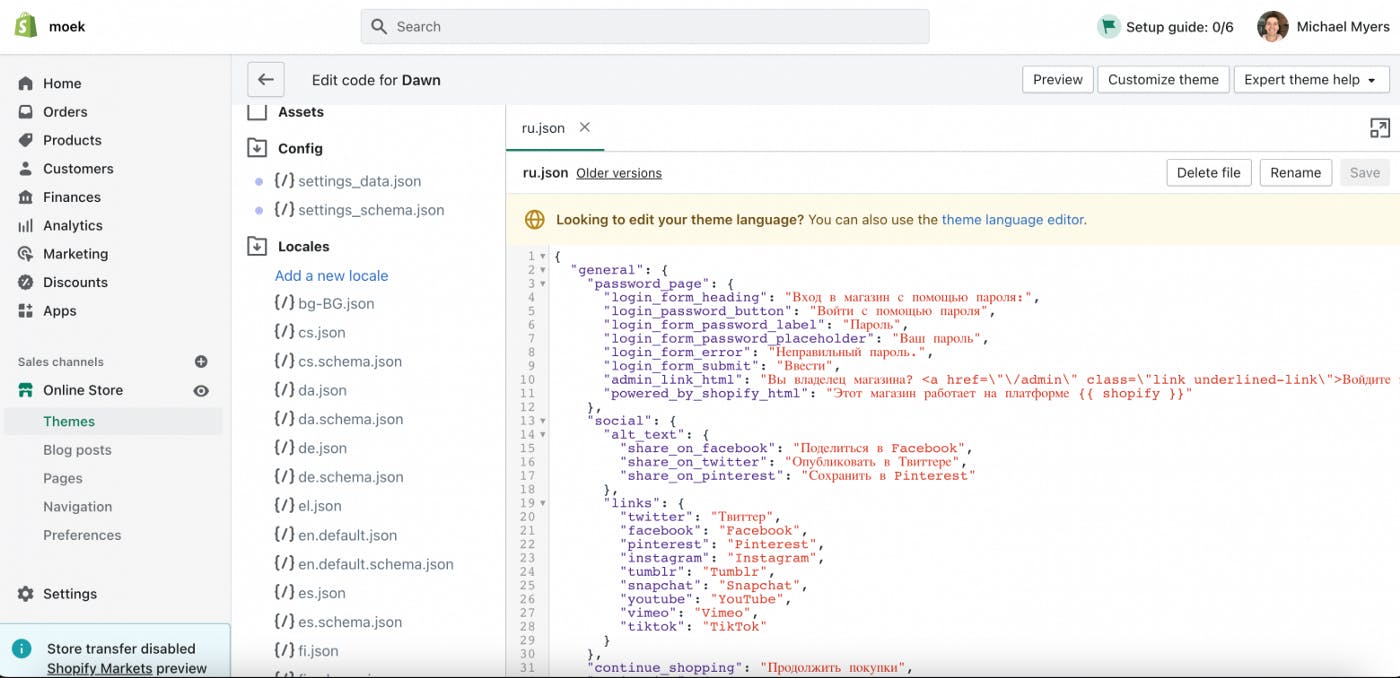
Locales
The folder contains translations. By default will be set to English. In the Dawn theme there are a bunch of different translations. But check your theme, you may not have them. You can translate your theme in the specific file, and the admin panel using the Edit languages button.
As you know there are no emmet, code highlighters in the Shopify theme editor. So let’s see how to work with Shopify in the code editor like VS Code.
Maybe you have a reasonable question — how to edit Shopify themes using VS code or any code editor. And now I’ll tell you how.
What is Shopify CLI?
Shopify CLI is a command-line interface tool that helps you build Shopify apps and themes. It quickly generates Shopify apps, themes, and custom storefronts. You can also use it to automate many common development tasks.
I use Shopify CLI every day and love it so much. The current Shopify CLI version is 3. There are some changes between the 2 versions. I’ll tell you in the next article about these changes (maybe).
How to install Shopify CLI?
Before you will install Shopify CLI, be sure you have:
Install on macOS (Homebrew)
brew tap shopify/shopify
brew install shopify-cli
Install on Windows (RubyGems.org)
gem install shopify-cli
Check a version
shopify version
If the installation successful, you will see a current Shopify CLI version on your PC, like that:

You can also use VS Code terminal, it doesn’t matter.
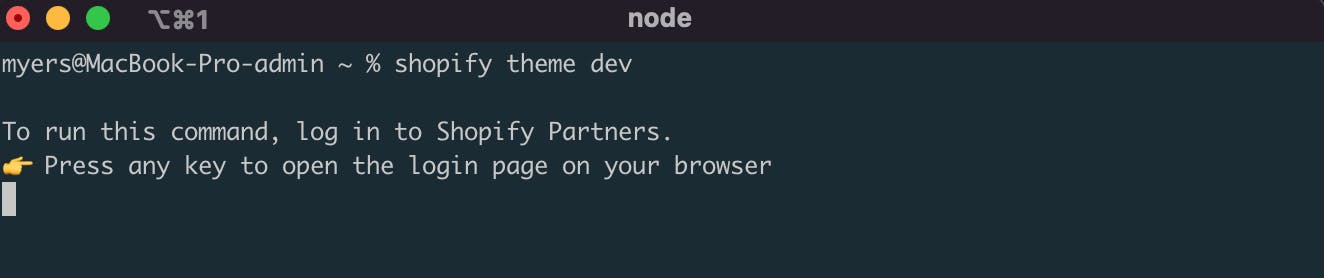
Authentication
Use shopify theme dev to connect to your store:
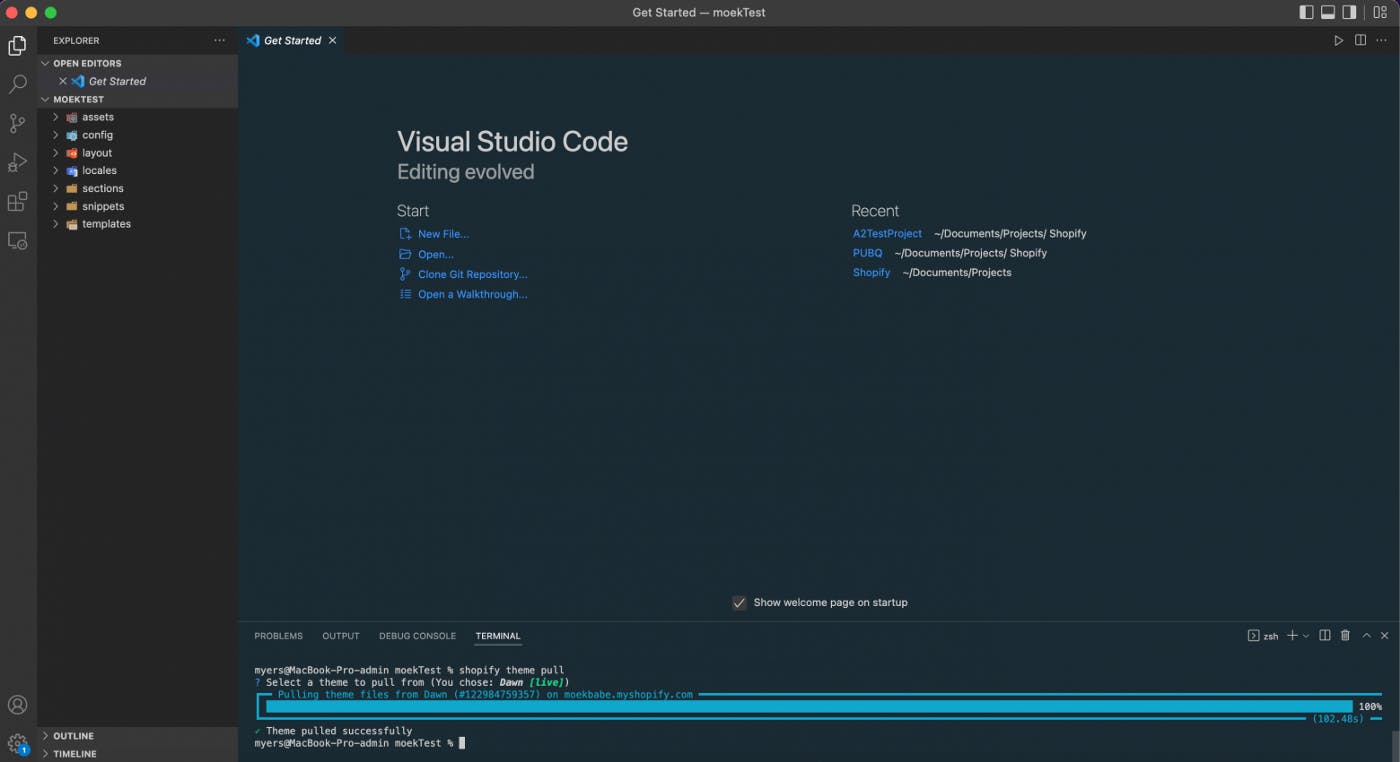
How do get store files to PC?
To pull files from the store to a folder on the PC use this command: shopify theme pull
You will see a message like so:

It asks you to choose a theme, chooses a theme you wish to pull files from
Depending on the size of the files you need to wait some time. After success you will see the theme folders in the left sidebar:
To log out from the store, use this command:
shopify auth logout
You will see something like this in the terminal:

Congratulations! You learned how to pull theme files from Shopify. Now let’s check some useful commands that will help you to work with Shopify themes.
The first command I would like to mention here is: shopify theme dev
You can remember it, we logged in to a store using this command. But it’s also “serving” it. You make changes and the page is live reloaded, it’s like a browser sync. And the cool feature is — if you make a mistake you will see an error message in the terminal.

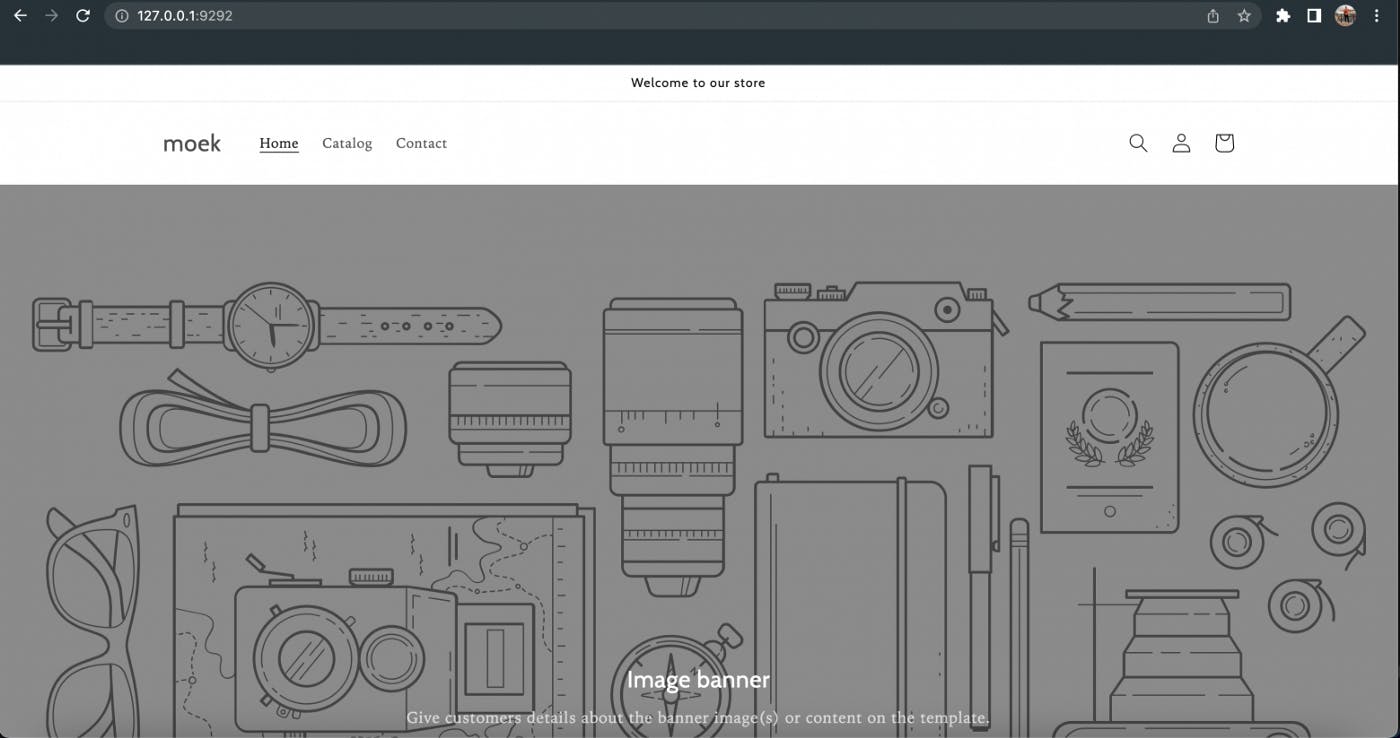
Now we can open our store using this URL in a browser:
After you made some changes in your local theme, time to push the changes. To push files back to Shopify use this command:
shopify theme push
It will ask you where to push, be careful on this step:

How to check Shopify CLI commands?
Run this command: shopify commands

Shopify Visual Studio Code extensions
You might have a question about Shopify extensions. There are a couple of them that is pretty useful.
Overall
I want to say that Shopify is a great platform to learn e-commerce development and sell products online. I have enough experience in Shopify to say that I love it.
If you like the article, you can support me — buy me a taco. Just one dollar will make me smile. Also, you can hire me as a Shopify developer. Take care!